A first stargazing session does not need a telescope, a remote campsite, or a list of twenty targets. It needs a reachable place, a current local sky check, and one object you can recognize twice. This plan is for a clear evening with an adult observer; visibility changes with latitude, season, moonlight, weather, and nearby lamps. Do not treat an illustrative sky image as a location-specific chart.
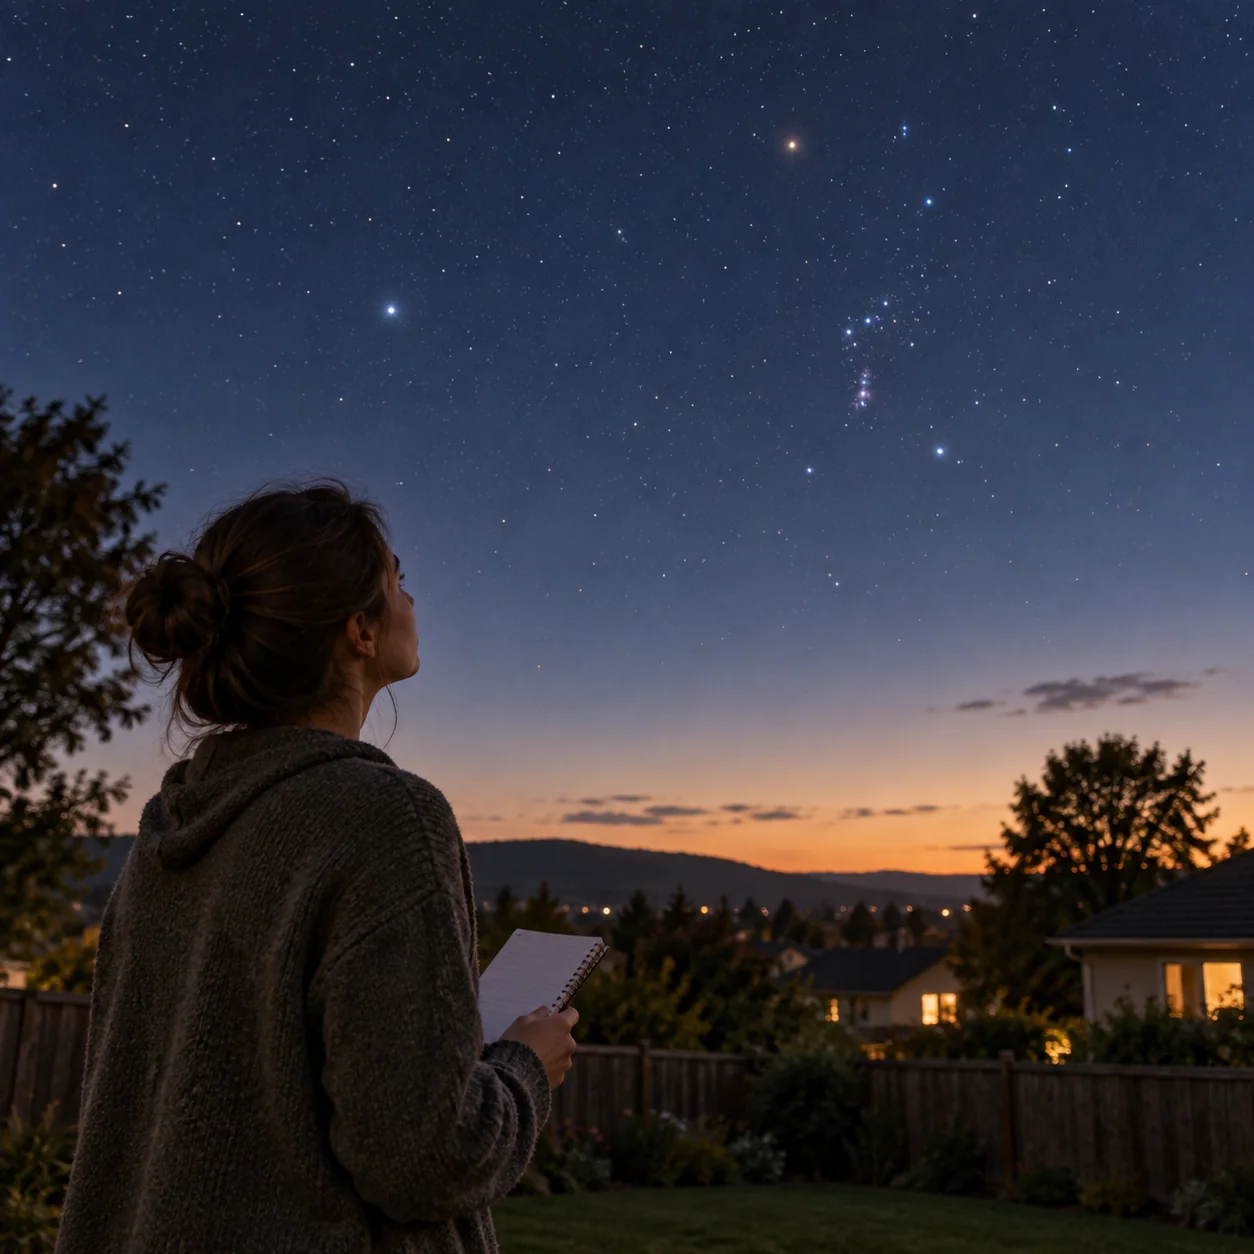
Before leaving the door
Check the local cloud forecast and whether the Moon is above your horizon. A bright Moon is a satisfying first target, but it will wash out many faint stars. Choose a legal, level place where you can see a useful patch of sky without standing in traffic or entering an unlit hazard. Bring a jacket, a small notebook and a dim light for walking. Tell someone where you will be if you are going beyond your property. A clear neighborhood courtyard is better than a dark site that feels unsafe or requires a difficult trip.
One anchor, not an entire atlas
If the Moon is visible, begin there: note its illuminated shape and where the bright edge sits relative to the horizon. If it is not, use a locally appropriate chart to choose a bright pattern such as the Big Dipper, Orion or the Summer Triangle. Those examples are not visible at every location or hour. Set your map for your date, time and latitude, and then face the matching horizon. Identify one bright star, look away and locate it again. That second identification is a more reliable success than naming a dozen uncertain points.
Twenty minutes in the field
Spend the first five minutes simply finding a comfortable position and letting your eyes settle. Use the next ten to compare your anchor with one nearby pattern or the Moon's changing edge. During the final five, draw a rough sketch or write what you noticed. Put the time on the page, since the sky will rotate over the hours and change over months. If clouds move across your target, keep the note and stop; observing conditions are data, not failure. A short repeatable routine makes the next visit easier.
What a first view really looks like
Stars remain small points, even in ordinary amateur instruments. The Moon shows real shape and contrast, while most deep-sky objects look subdued to the eye rather than like saturated photographs. Streetlights can erase faint targets, and warm air or thin cloud can soften detail. This is why a successful first session is about orientation and comparison. You do not need to prove that you saw an exotic object. The simple observation that a familiar pattern occupies a different position later in the night is already a useful discovery.
A useful next question
Afterward, choose one change for the second evening: a darker view, an earlier time, a different lunar phase, or a borrowed pair of binoculars. Change only one variable if you want to understand what improved the view. If you want to observe the Sun or an eclipse later, stop and obtain specialist safety guidance first. Never aim binoculars, a camera or a telescope at the Sun without a proper front-mounted solar filter designed for that instrument. Normal sunglasses and eclipse glasses worn behind magnifying optics are not substitutes.
A practice run from your own doorway
On the afternoon before your first session, stand where you intend to observe and identify the clear sectors of sky. Note which nearby lights will turn on after dark and where you can place a chair without blocking a path. That reconnaissance keeps the nighttime decision simple. At dusk, check the weather again rather than relying on yesterday's forecast. Put the notebook and a modest light in one pocket, then leave the telescope indoors even if someone offers it. When you reach your spot, write the local time and choose one anchor that is genuinely above the horizon. If the Moon is hidden, select a bright pattern from a map set for your place. Spend a few moments locating it repeatedly with your eyes. At the end, ask whether you could guide another person to it without waving vaguely at half the sky. If not, the next session has a clear and achievable task: improve that single identification.
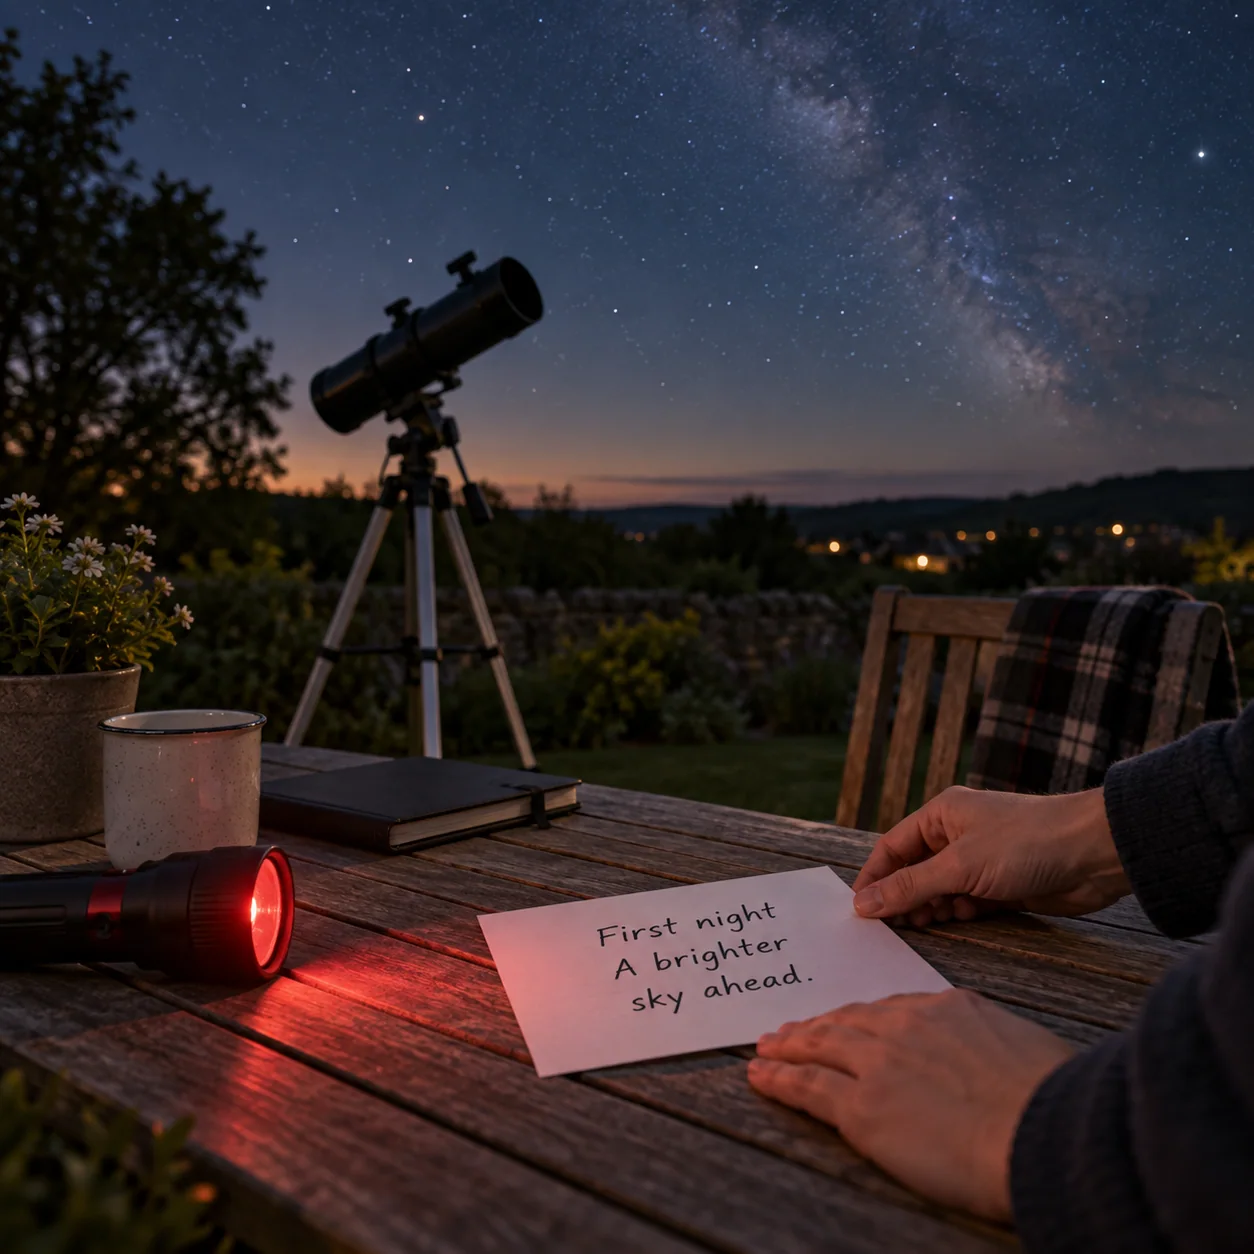
Your first night is complete when you can point to one target, describe the conditions and say what you actually saw. The record gives you a starting point for the next clear evening. For a family session, let each person choose one observation to contribute without requiring agreement. One may notice the Moon’s shape while another finds a familiar triangle. Record both and check the chart later. The shared experience is stronger when a child can say “I am not sure” without being corrected into a claim they did not make.
Continue observing
- How to Read a Star Map Without Turning the Sky Upside Down
- Why a Half Moon Can Show More Relief Than a Full Moon