The Moon does not return to exactly the same place among the stars at the same clock time each evening. It is orbiting Earth while Earth turns, and its illuminated appearance changes as the viewing geometry changes. A week of simple drawings can make that motion visible without a telescope. The goal is not to produce a precise astronomical chart. It is to build a credible time series in which every mark has a date, a local time, and a fixed reference.
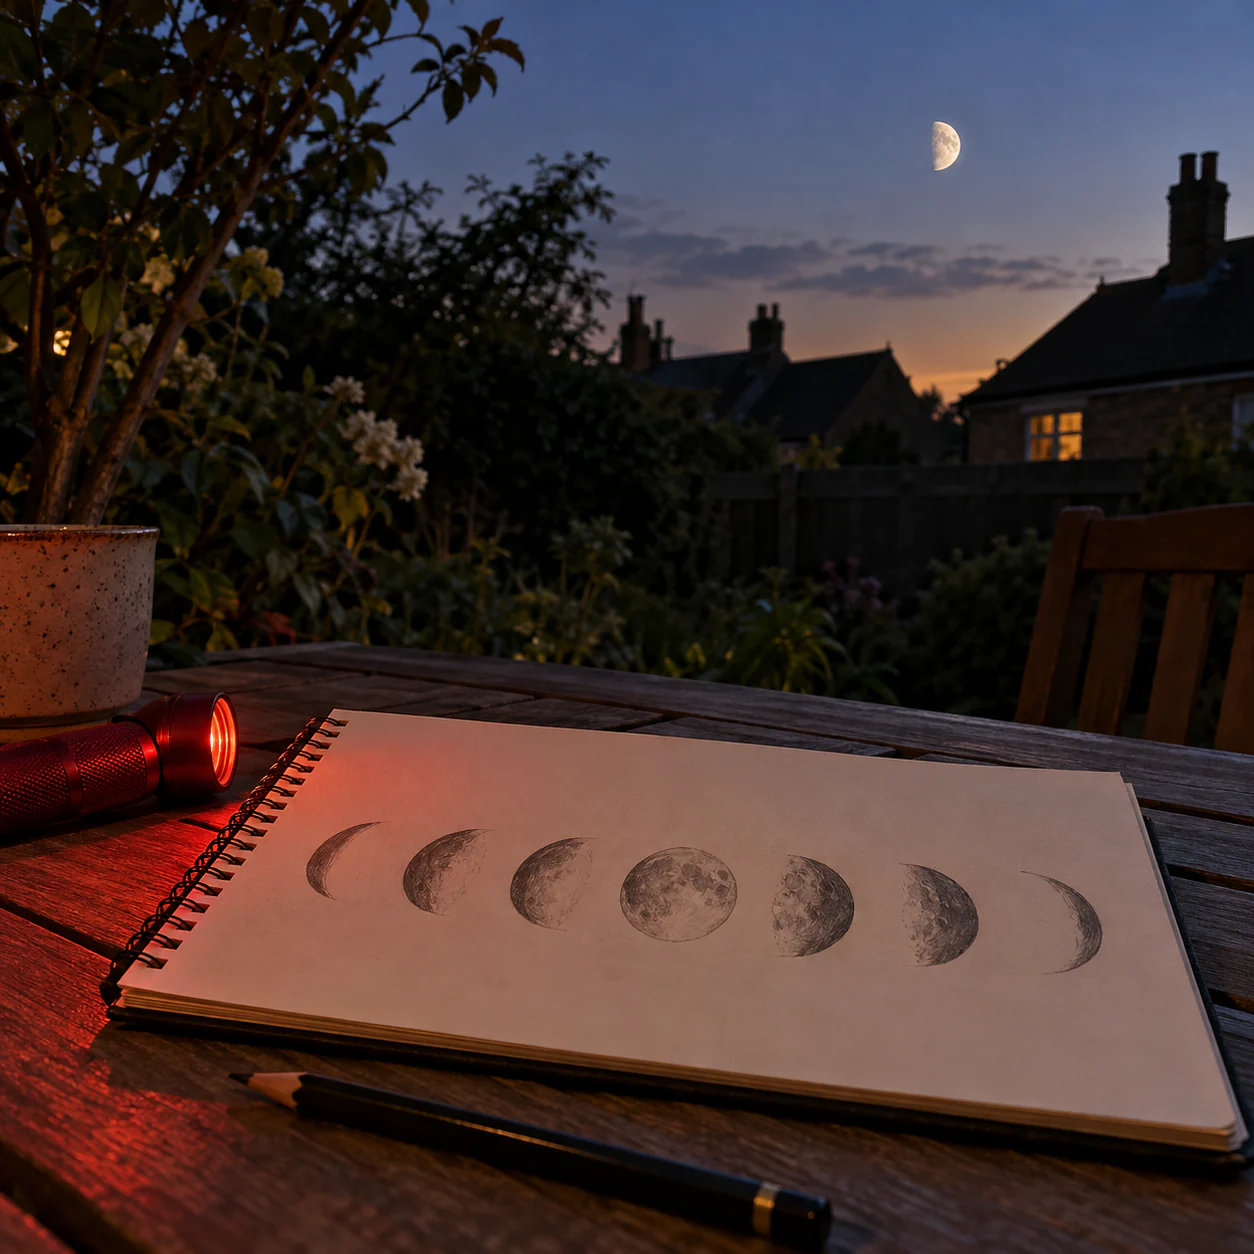
Set one repeatable frame
Choose an observing place you can safely use for several evenings. A window, doorway, balcony with a secure rail, or a level garden spot can work. Pick two fixed foreground references such as the corner of a roof and the top of a tree. They are not celestial coordinates, but they will help you notice how the Moon’s position changes relative to your local view.
Select a local time when you can realistically return. The Moon may not be above that horizon every night, and clouds may interrupt the sequence. That is acceptable. NASA notes that moonrise and moonset times shift with phase, so the same clock time will not always provide the same opportunity. Check a current Moon guide or planetarium for your location before going outside, and never assume a generic phase picture tells you where to look.
Prepare seven dated boxes on one sheet. Give each box space for the time, a rough horizon line, the Moon’s position, its illuminated shape, one nearby bright star if visible, and a brief condition note. Keep the drawing small. You are comparing relationships, not trying to reproduce lunar surface detail.
Night one establishes the reference
On the first usable evening, stand in the chosen place and write the local time before drawing. Mark the two foreground references at the edges of the box. Place the Moon between them at roughly the height you see. Sketch only the bright outline and the direction of the illuminated portion. Do not copy the phase icon from an app; look at the Moon, then use the app only to confirm that you have not mistaken a cloud edge for the lunar boundary.
Find one bright star near the Moon if the sky and moonlight allow it. A current chart is essential because the suitable star changes with date, place, and time. Put a dot in the box and label it only if the identification is secure. If no star is visible, write “no reference star seen.” An empty field is better evidence than a guessed name.
Finish with a condition note: clear, thin cloud, bright haze, or target repeatedly covered. NASA describes noticing the changing position and phases of the Moon over several days as a basic form of skywatching. The strength of this activity comes from those repeated, dated observations, not from artistic accuracy.
Build the sequence without forcing it
Return at the chosen time on later evenings. Use the same page orientation and the same foreground marks. You may find that the Moon has shifted so far that it no longer fits between the original references. Extend the horizon line rather than moving the roof or tree to make the drawing neat. If it is below the horizon, blocked, or absent from the evening sky, record that result and use a location-based guide to learn whether a different time would be more suitable.
Clouded out nights still belong in the sequence. Write “cloud cover; position not observed” and continue the next evening. Never fill the box from a photograph found online. A missing observation tells the truth about the project and prevents a smooth-looking but fabricated record.
At least once, observe a little earlier or later in addition to the standard time. The Moon and stars will all appear to move across the sky during the night because Earth rotates. Comparing the extra observation with the same-time series helps separate that shared nightly motion from the Moon’s changing position among the background stars over successive dates. You do not need to calculate rates. You need only label the times correctly.
Read three different changes
First, compare the Moon with your foreground. This shows how the observing geometry changed from your location, but it mixes the Moon’s orbit, Earth’s rotation, and the chosen clock time. Treat it as a local finding rather than a universal path.
Second, compare the Moon with the nearby star field. Across multiple evenings, the Moon’s relationship to background stars changes because it travels around Earth. NASA lists the Moon as Earth’s natural satellite and describes its orbit at an average distance of about 239,000 miles, or 385,000 kilometers. Your sketch will not measure that distance; it gives a direct visual clue that the Moon is moving through a celestial background rather than being fixed to it.
Third, compare the illuminated shape. The Moon does not generate its own visible light. Sunlight illuminates half of it, and the portion we see changes with the positions of the Sun, Earth, and Moon. Avoid describing the dark portion as physically disappearing. If your sequence runs from crescent toward first quarter, or from gibbous toward full, write the direction of change without claiming every seven-night period follows the same starting phase.
Turn the page into evidence
After the final attempt, draw arrows only between positions you actually observed. Circle gaps caused by cloud or an unavailable horizon. Under the sequence, write three sentences: what changed in position, what changed in phase, and what remained uncertain. A useful conclusion might say that the Moon moved eastward relative to the selected stars while its bright portion grew, but two dates were lost to cloud. It should not claim a precise orbital speed from rough sketches.
Keep the original local times. If daylight-saving rules, travel, or a change of location interrupted the project, mark that instead of normalizing the data afterward. A second week can improve the comparison, especially if you choose a different phase or a clearer horizon.
The finished record demonstrates a powerful observing habit: separate what the sky did from what your schedule and horizon allowed you to see. One page can contain orbital motion, changing illumination, Earth’s nightly rotation, cloud gaps, and honest uncertainty. That is more useful than a perfect row of copied phase icons because every visible change belongs to a real, repeatable observation.
Continue observing
- A Four-Night Moon Sketch: Follow the Moving Shadow Line
- Make a Stargazing Journal You Will Actually Use