The Moon changes enough between evenings to make a short repeat visit worthwhile. A four-night sketch is a way to notice that change without a telescope or specialist drawing skills. This exercise is observational rather than a fixed event schedule: weather and local moonrise may force you to spread the four visits across a longer period.
Choose a workable run of nights
Consult a current local phase and rise-set guide. A waxing crescent progressing toward first quarter can be convenient for evening observers in many locations, but the Moon's position varies with season. Do not promise yourself four consecutive clear nights. Instead, aim for four safe opportunities when the Moon is visible. Keep roughly the same time of evening if possible, and note any departure. A view through a window may reduce comfort and contrast; if you observe indoors, record that condition rather than silently treating it like an outdoor view.
Make each sketch small
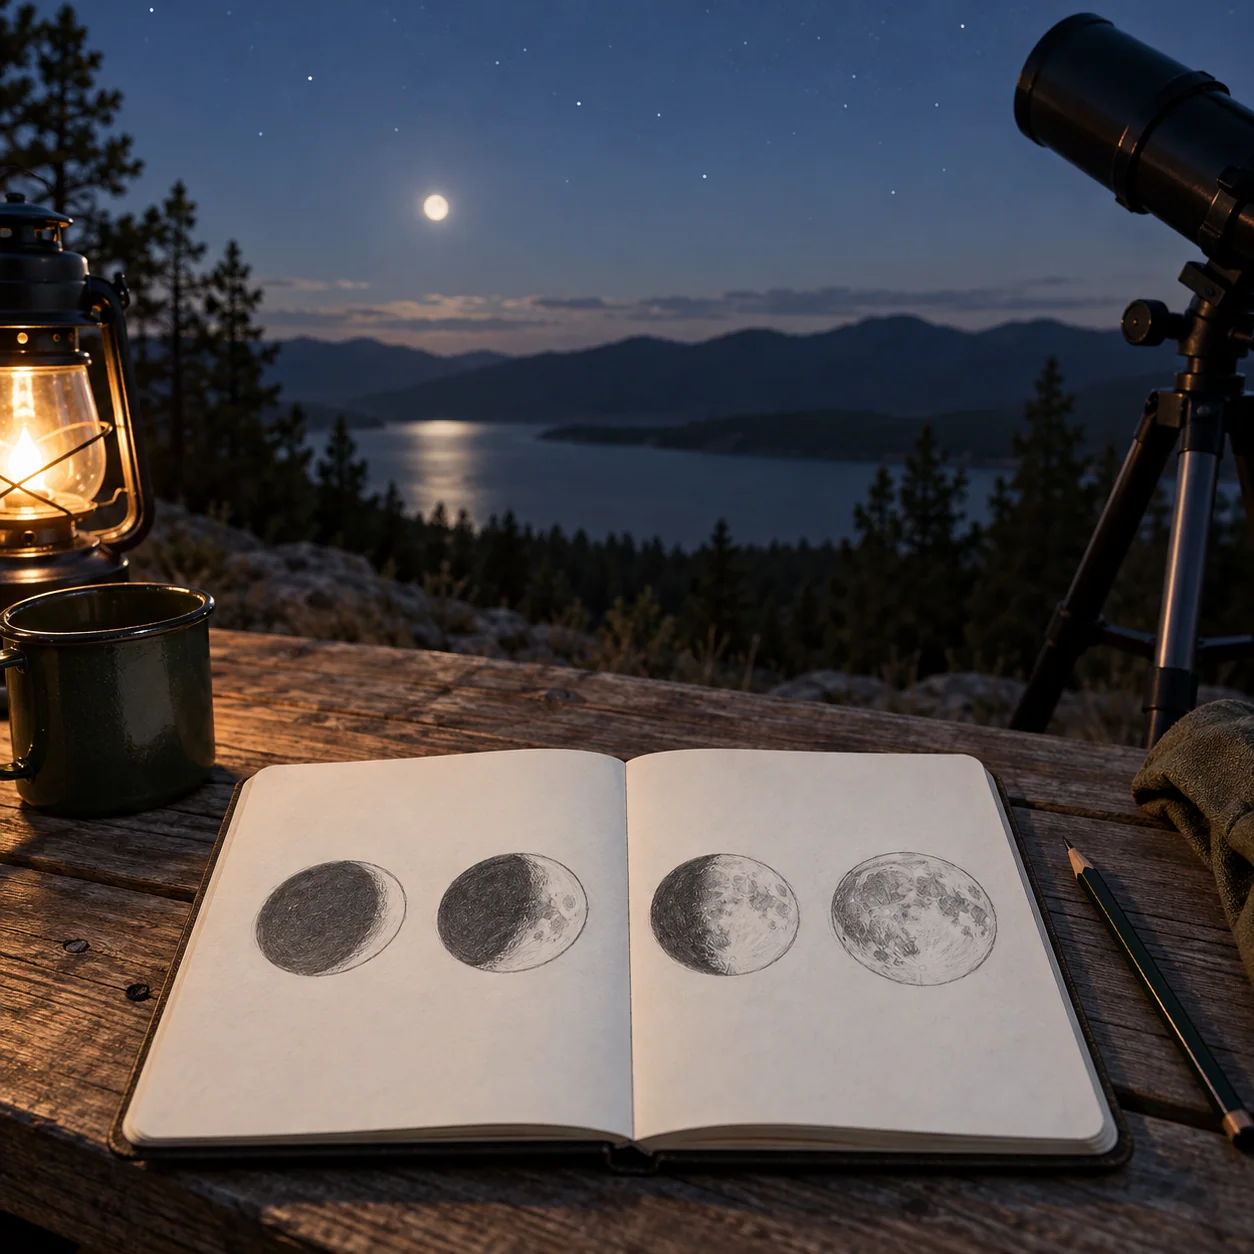
Draw a circle no larger than a coin or bottle cap. Shade the unlit portion and mark the bright side. Add just one or two large features you can really see, such as a prominent dark plain or a rough patch beside the terminator. Work from direct sight before consulting a named-feature map. If you use binoculars, keep the same pair across sessions and state that in the journal. The sketch is a record of your perception, not a scientific image reconstruction.
Track the moving boundary
The line between lunar day and night changes position as the Moon advances through its phases. On each drawing, mark that edge most carefully. Compare the shape of shadowed relief immediately beside it. A feature that looked stark on one night may become less obvious as sunlight reaches a different angle. NASA's observing guidance recommends looking near this terminator for strong shadows. The sequence makes that advice tangible: you are watching lighting change over terrain rather than expecting the surface itself to rearrange.
Add a conditions margin
Beside each circle, write local time, cloud cover, whether the Moon was high or low, and any instrument used. Even two clear nights may differ in steadiness. A low Moon passes through more atmosphere and may look softer, while a streetlight can reduce subtle contrast. If an evening is cloudy, leave a blank frame with the reason noted. That blank is honest data; inventing a phase from an app would turn an observation project into an illustration project. You can resume on another clear night.
Compare without overclaiming
Lay the four drawings side by side. Ask one narrow question: Did the bright fraction expand, or did a particular shadow near the edge shorten? The changing phase is predictable, but your drawings may contain orientation or scale errors. Note them. If you used a telescope on one evening, its view may be inverted or mirrored relative to the naked-eye sketches. Label the instrument rather than “correcting” the page by memory. Sharing the sequence with a child can start a good conversation about observation and uncertainty without requiring a precise crater name.
Building a comparison sheet
Place four small circles on one page with space beneath each for the date, hour and cloud note. Do not fill the circles from a lunar calendar in advance; leave them blank until an actual observing session. At the first visit, spend at least one minute looking before drawing. At the next visit, draw without peeking at the previous sketch, then compare the two. If the Moon has moved behind a roof at your usual hour, record that obstacle and choose another safe time rather than inventing a view. On a cloudy night, write “clouded out.” This keeps the project an observation log rather than a craft template. After four actual views, lay a straightedge across the illuminated boundaries and see how the apparent bright portion changed. The geometry may be imperfect, but the sequence should capture a trend. A family can discuss what each person noticed differently without treating one sketch as the only correct eye-level record.
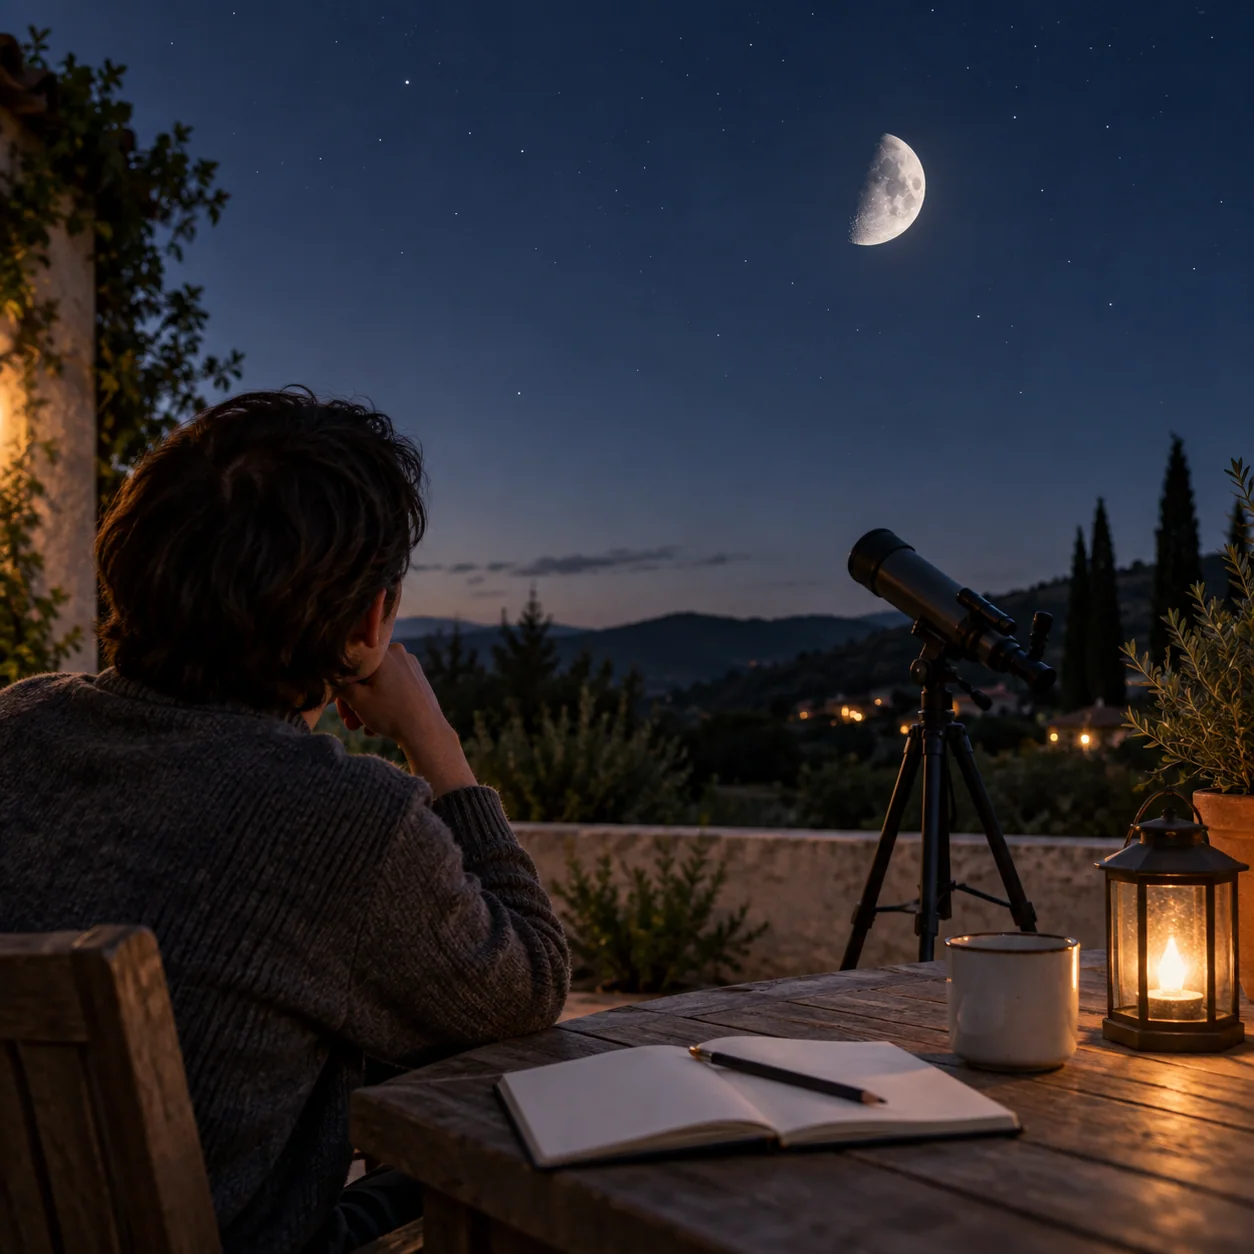
The finished sequence is useful because it records four real skies, not because every circle looks polished. A later lunar month offers a natural repeat experiment. A companion can make the project more revealing by sketching independently at the same time. Compare the two pages afterward and identify features both observers noticed. Differences may come from attention, eyesight or instrument settings. Do not force the pages to agree; use a verified lunar map to resolve a genuine uncertainty after the observation ends.
Continue observing
- Why a Half Moon Can Show More Relief Than a Full Moon
- Find the Summer Triangle Without Needing Dark-Sky Travel