A binocular label such as 7x35 or 10x50 tells you magnification and objective diameter, but it does not tell you how much sky fits inside the view. That width is the field of view. It affects how easily you can find a target, whether a broad cluster fits comfortably, and how much overlap you need while scanning. You can learn the practical meaning of the specification without turning the exercise into an optics laboratory or pretending an illustration matches your exact eyepiece view.
Read three specifications separately
The first number in a binocular description is magnification. A 7x instrument makes an object appear roughly seven times larger in angular size than it does to the unaided eye; a 10x instrument uses ten-power magnification. The second number is the diameter of each front lens in millimeters. NASA’s Night Sky Network uses 7x35 through 10x50 as a practical beginner range and cautions that more powerful, larger binoculars are often heavier, harder to hold steadily, and narrower in view.
Field of view is a separate specification. A manufacturer may express it as an angle, such as a number of degrees, or as a width at a stated terrestrial distance. Use the manual or a marking on the actual instrument. Do not copy a field value from another binocular merely because the magnification and objective numbers match; designs differ.
Keep “brightness,” “magnification,” and “field width” in separate notebook columns. A wider field does not automatically mean a brighter view, and higher magnification does not guarantee an easier observation. Comfort, steadiness, focus, sky brightness, and the target’s size all matter.
Turn the number into a sky expectation
Begin with a target that is easy to locate without binoculars, such as the Moon or a broad bright star pattern selected from a current local chart. Never use the Sun for this test. Keep the Sun fully below your local horizon before sweeping with ordinary binoculars, especially near the western sky after sunset or the eastern sky before sunrise.
If your binocular field is given in degrees, compare it with a chart that can display an angular grid or field circle. Set the chart to the stated width and place it over the planned target. This predicts whether the whole pattern should fit, but it remains a planning model. The real view may be reduced near the edge by softness, eye position, glasses, or the shape of the binocular’s apparent field.
NASA notes that binoculars show a much larger patch of sky than many telescope eyepieces and can contain broad targets such as the Pleiades more comfortably. Use that as a target-selection principle rather than a promise about every instrument. A compact object may occupy only a small part of the circle; a very extended object can spill beyond it; a faint object may remain invisible even when it geometrically fits.
Write one pre-session prediction: “the selected star pair should fit with room on both sides,” or “the full pattern will require two adjacent fields.” The prediction gives the observation something specific to test.
Test the usable field, not only the edge
Focus both sides of the binocular carefully using the instrument’s normal procedure. Sit or brace your elbows so motion does not hide the field boundary. Center the first bright reference, then notice how far you can move it toward the edge while still seeing it clearly and comfortably. Do not press the eyecups hard against your face; adjust eye relief so you see one relaxed circular field rather than dark crescents.
Bring a second known star or feature into the opposite side. Compare the observed pairing with the chart. If both references fit but the outer one is distorted, record a smaller “comfortable field” inside the advertised total. That is not proof that the specification is wrong. Published field width and the portion you personally find sharp enough for recognition answer different questions.
Repeat after changing only one variable, such as wearing glasses or using a more stable position. Do not compare two binoculars while also changing target, time, and location. A simple controlled comparison is more useful than a list of impressions collected under unrelated conditions.
Match field shape to the observing task
For locating a target, a broad comfortable field reduces the chance of losing the surrounding pattern. For studying a small lunar region, magnification and steadiness may matter more than fitting a large star field. For an open cluster, the space around the cluster can be part of the view, so a field that barely clips the outer stars may feel less informative than a lower-power view with context.
Create a three-part target list:
- Fits with context: broad patterns or clusters that should leave recognizable guide stars around them.
- Fits tightly: targets that may fill much of the usable field and require careful centering.
- Requires a sweep: areas larger than the field that must be covered in overlapping steps.
This list prevents a common error: assuming that failure to see the whole target means failure to find it. The object may be larger than the frame, too faint for the sky, or partly outside the field. Check position and scale before blaming focus.
Keep the result honest
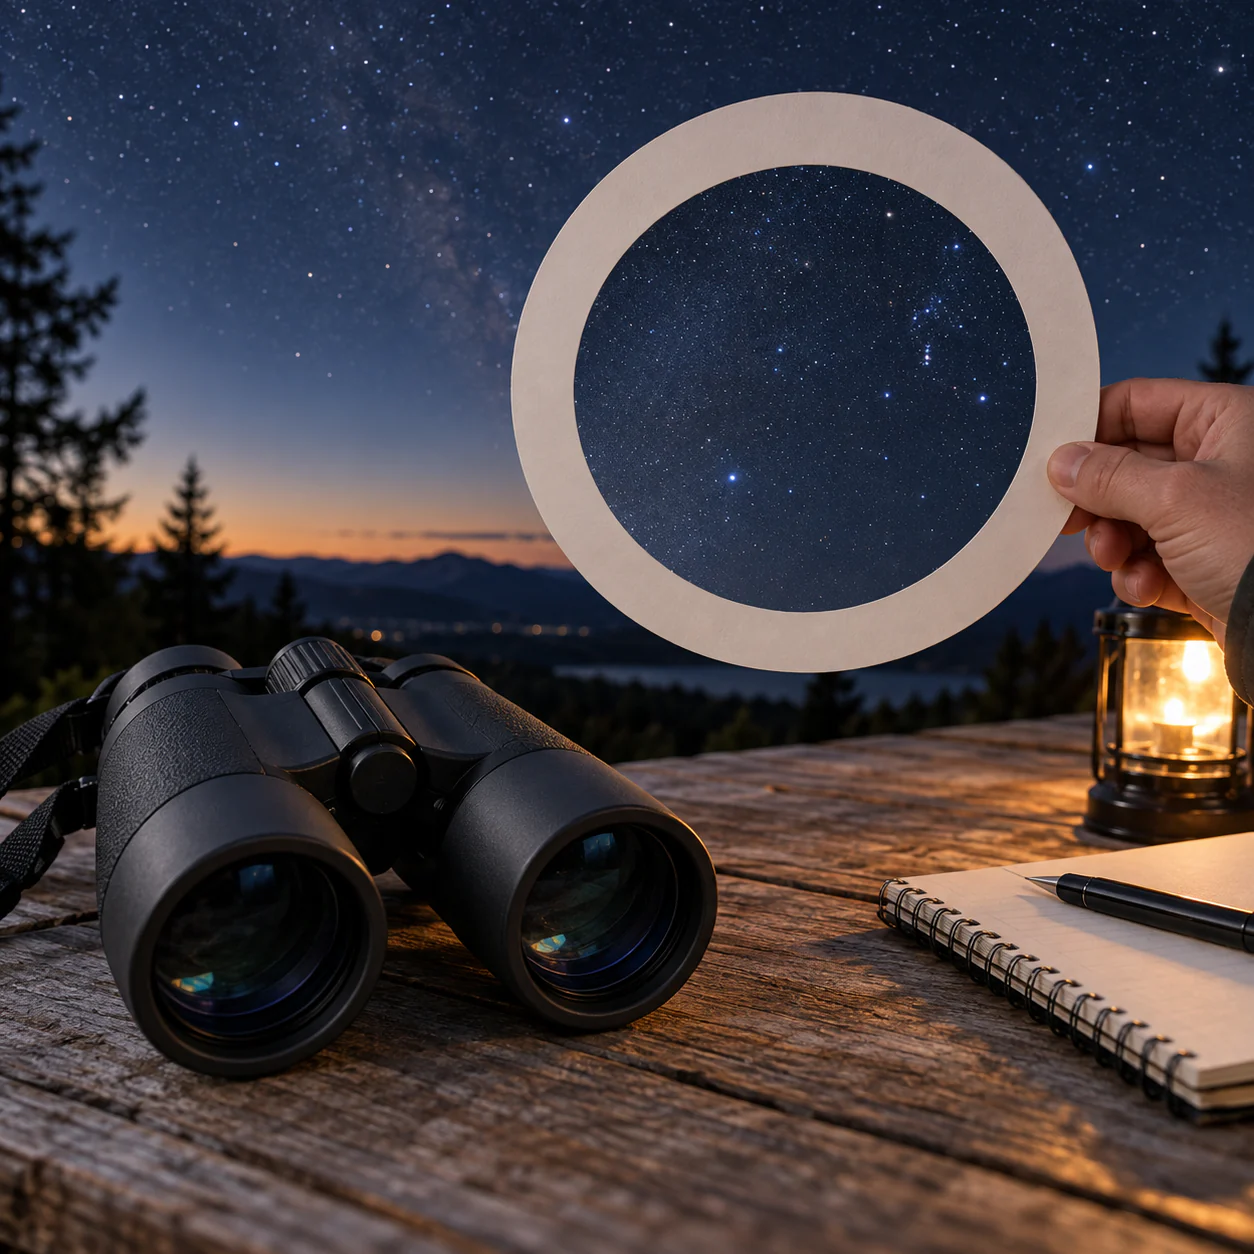
An illustration of a circle over stars is not an exact binocular simulation. Real fields vary in edge sharpness, brightness, eye relief, and apparent scale. Phone photographs through an eyepiece can crop the circle and apply processing. Label any image by method and do not present a camera frame as what both eyes saw.
In the notebook, record the binocular specification, published field value, target, location, time, support method, glasses or no glasses, and your estimated comfortable field. Add one sentence about what the wider context helped you do: find the cluster again, keep a guide star visible, or plan the next overlapping sweep.
Field of view becomes useful when it changes a decision. It tells you which target is likely to fit, how much context you can retain, and how far to move before the next view. Once you know that, magnification stops being the only number that seems important, and a modest binocular can become a much more predictable observing tool.
Continue observing
- 7x35 or 10x50 for Stargazing? Start With What You Can Hold
- Steadier Handheld Binocular Views Without Buying a Mount