A forecast does not need to promise a perfect night before you step outside. For a short backyard session, the useful question is narrower: will enough of the sky stay open long enough to complete one observation? Cloud percentage alone cannot answer that. A thin high veil, a broken deck moving between clear gaps, and a low solid layer can all produce different results even when an app shows a similar icon. This guide turns the forecast into a cautious plan, then asks you to compare that plan with the sky you actually receive.
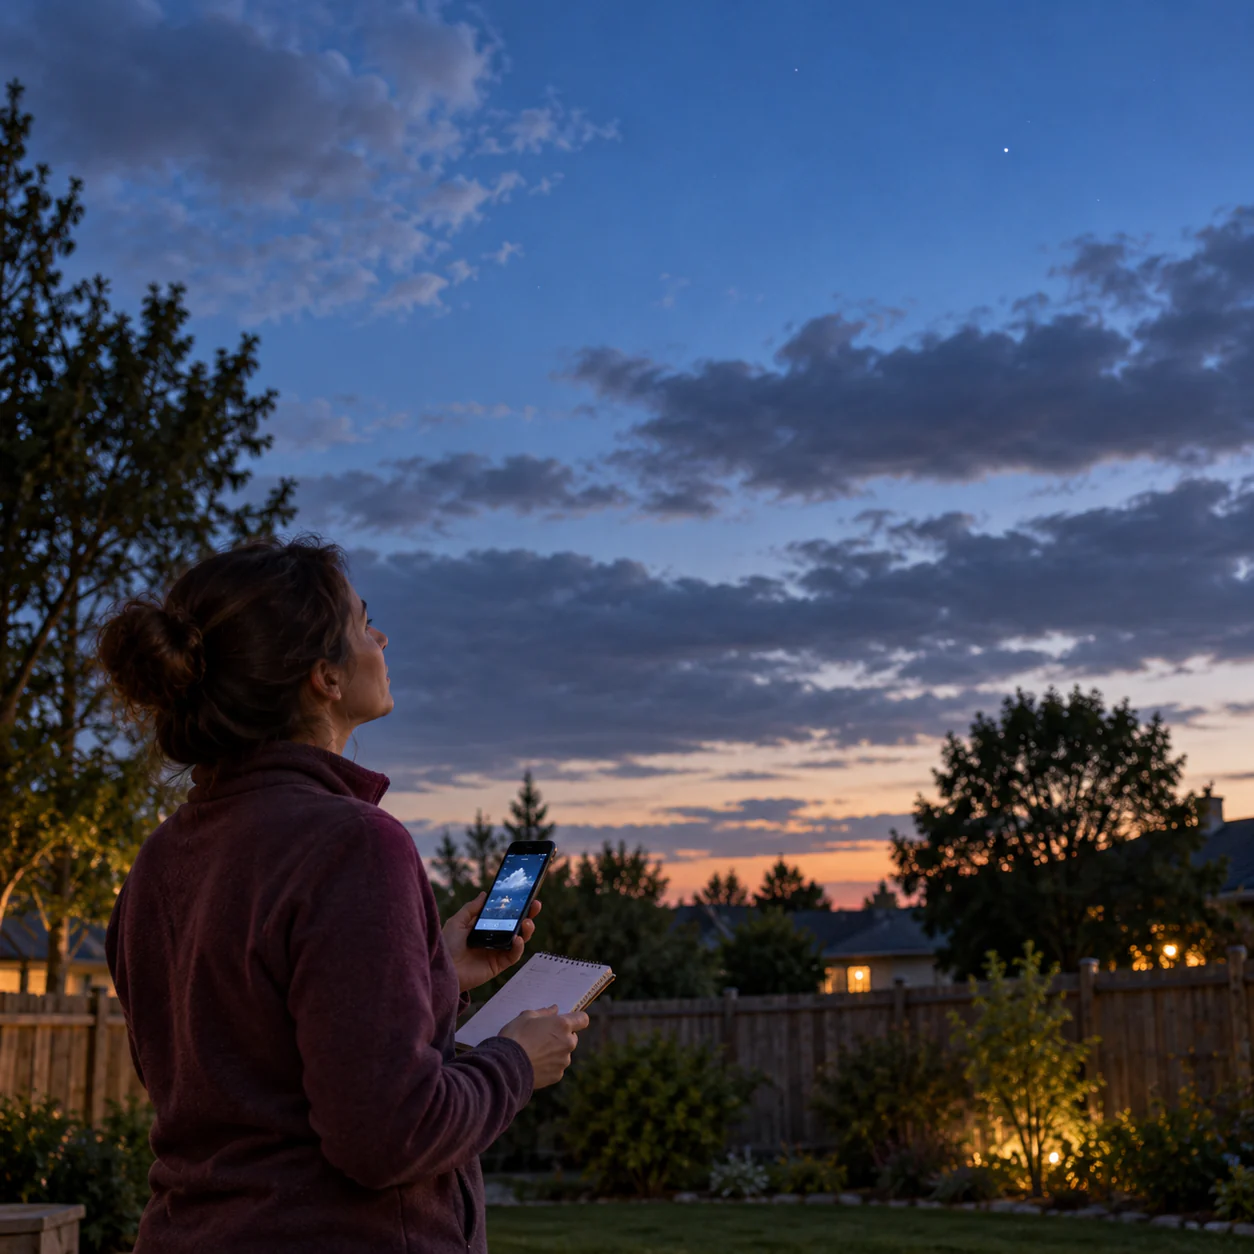
Begin with the task, not the weather symbol
Choose one observation before reading the forecast. A broad target such as the Moon, a bright planet, or a familiar star pattern can tolerate brief gaps and some haze. A faint galaxy or a low-contrast nebula needs a darker, clearer background and more uninterrupted time. “Look at the Moon for ten minutes” and “search for a faint object near the horizon” therefore have different weather requirements. If you decide on the task first, a mixed forecast can lead to an honest change of target rather than a disappointed attempt to force the original plan.
Set a minimum useful window. Ten or fifteen minutes may be enough to compare the Moon’s bright and dark regions, confirm a constellation shape, or make a simple position sketch. A longer binocular sweep may require repeated clear gaps. Write the minimum beside the target in your notebook. That small decision prevents an optimistic forecast reading from quietly expanding into an hour-long setup.
Use a current hourly forecast for your location, not a daily icon for a wider region. Note the hours around your intended session, the chance of precipitation, wind that could make a tripod or loose equipment unsafe, and any abrupt temperature change. Then look outside. The forecast is a planning aid; the visible horizon is the final pre-session check.
Read cloud descriptions as layers
The National Weather Service classifies clouds partly by their height and appearance. High clouds often look thin or streaky, middle clouds can form sheets or patches, and low clouds can build a thicker deck. Those families do not translate into a guaranteed astronomy score, but recognizing the layer helps you describe what is happening instead of writing only “cloudy.”
A thin high veil may leave bright objects visible while reducing contrast around fainter ones. Patchy clouds with obvious blue or star-filled gaps can support a short, interruptible task. A continuous low sheet usually removes the direct view altogether. Multiple layers can be deceptive: a gap in a low deck may still reveal only a brighter high haze behind it. Judge the target, not merely the existence of a hole.
At dusk, watch how the cloud edges move against a fixed roof, tree, or pole for several minutes. You are not calculating a formal wind speed. You are learning whether the same open sector is widening, closing, or sliding away from the part of the sky that contains your target. If you cannot see the target area from your observing spot, do not assume conditions elsewhere in the sky will move into place on schedule.
Make one of three conservative decisions
Observe as planned when the target sector is open, the surface is dry and safe, and the current trend gives you at least your minimum window. Keep the session bounded. A clear opening is not evidence that the entire night will stay clear.
Shorten or switch when gaps are usable but irregular. Choose a bright target that can be reacquired quickly, keep the notebook open, and avoid a complicated alignment or equipment layout. The Moon is especially useful because it is easy to recover after a cloud passes, provided it is above your local horizon. A bright star pattern can work for the same reason. Record interruptions rather than pretending they did not happen.
Postpone when the layer is continuous, precipitation is nearby, wind makes equipment unstable, lightning is possible, or the safe walking surface is uncertain. Postponing is not a failed observation. It protects equipment, eyesight, and the reliability of your notes. Never remain outside with metal equipment during a thunderstorm, and do not travel to an unfamiliar dark place simply because a distant forecast icon looks clearer.
These decisions are intentionally plain. They do not attempt to predict astronomical “seeing,” atmospheric turbulence, or faint-object transparency from a general weather page. If those factors become important later, add specialized information one variable at a time. For a beginner’s local session, clouds, safety, and a target matched to the available gap are enough.
Run a five-minute doorway check
Stand at the actual observing position about five minutes before carrying equipment outside. Find the target sector with your eyes or a current chart. Check whether nearby lights, roofs, or trees block the usable opening. Look for moisture on the ground and condensation on cool surfaces. If you use binoculars, keep their caps on until you have settled in a dry place.
Now compare three statements with the view: the forecast’s cloud description, the direction in which visible cloud edges are moving, and the size of the clear area around the target. Write one sentence such as “thin streaks west, Moon clear, gap shrinking” or “low solid layer, no target visible.” Avoid confident timing such as “clear in twelve minutes” unless a reliable local source actually provides it. Your field note should describe evidence, not hope.
If the view passes your minimum, take only the equipment required for the chosen task. A chair, notebook, dim light, and binoculars may be enough. The smaller setup makes it easier to stop when conditions change. It also prevents a brief clear gap from being consumed by assembly.
Compare forecast and outcome afterward
End the note with what occurred during the planned window. How many minutes was the target visible? Did the high veil reduce contrast? Did broken cloud move faster or slower than it appeared at dusk? Could you reacquire the target after an interruption? These are local observations, not a verdict on the forecasting service.
After several sessions, you may learn that one backyard horizon stays open when another is blocked, or that certain bright tasks remain worthwhile under thin cloud. You may also learn that a promising daily icon often hides an unusable hourly period. That knowledge improves planning without pretending to control the weather.
Cloud reading is valuable because it makes the session smaller and more truthful. You choose a task, identify the minimum useful gap, inspect the layer over the correct part of the sky, and record what actually happened. On some evenings the result will be a ten-minute observation. On others it will be a one-line note that the sky remained closed. Both outcomes help you plan the next night with better evidence.
Continue observing
- Your First Night of Stargazing: A Twenty-Minute Plan
- Keep Your Night Vision While Stargazing at Home