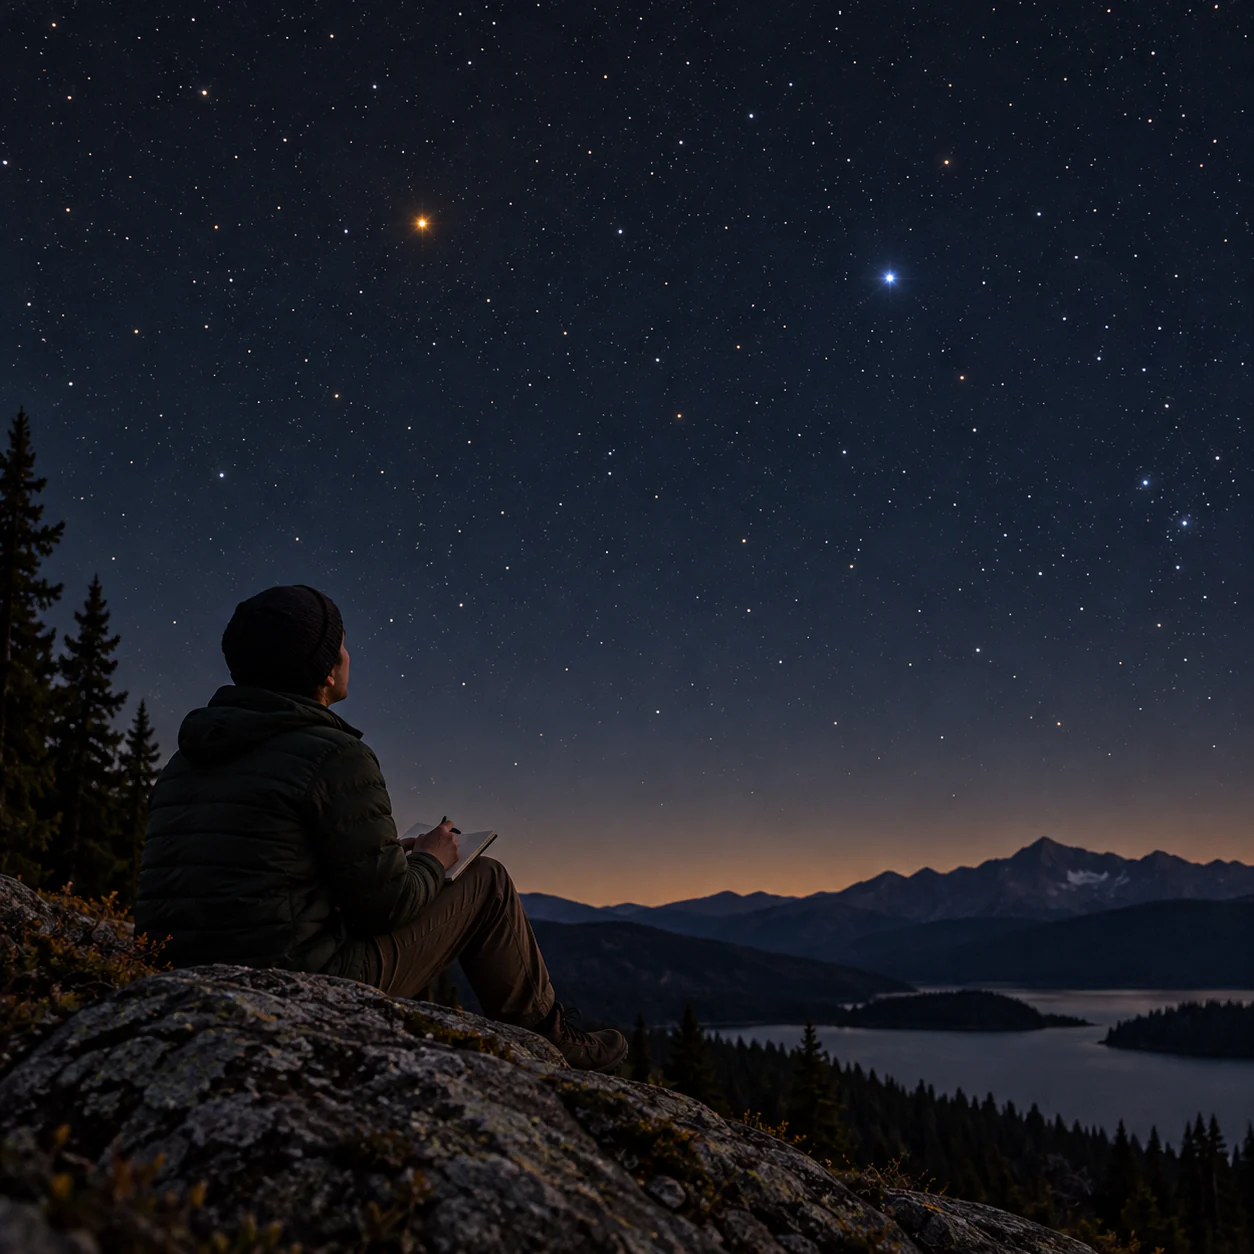
Star colors are usually subtler to the eye than photographs suggest. A camera can collect light, amplify color, and apply processing; your eyes work in real time with limited color sensitivity at night. You can still make a careful comparison by choosing two bright stars, keeping the conditions similar, and writing uncertainty into the result. The goal is not to measure temperature from a glance. It is to learn what a repeatable visual difference feels like.
Choose a pair the sky actually offers
Open a current chart for your location, date, and time. Select two bright stars that will be comfortably above your local obstructions during the same short period. They do not need to be next to each other, but a pair in widely separated directions may pass through different haze or local light domes. If possible, choose stars that the chart or a reputable reference describes with contrasting colors.
NASA’s astronomy image explanations use familiar examples in Orion: Betelgeuse appears redder, while Rigel appears bluer. The underlying physical relationship is real—stellar color relates to surface temperature, with redder stars generally cooler and bluer stars hotter—but an unaided impression is not a thermometer. Atmospheric conditions, brightness, vision, and expectation all influence what you report.
If Orion is not visible in your season or location, do not force that pair. Cassiopeia and other constellations contain stars with differing colors, but always verify candidates on a current chart. Choose stars by availability first, then use the reference only to check your identification.
Make a blind first impression
Before reading a detailed color description, locate the first star by its surrounding pattern. Look slightly beside it for a moment, then directly at it. Write one neutral word: warm, cool, white, uncertain, or changing. Avoid a long palette of exact hues. A faint star that flickers red and blue near the horizon may be showing atmospheric effects rather than a stable color impression.
Move to the second star within a minute or two. Use the same viewing method and give it one neutral word. Then return to the first. This A–B–A sequence helps you notice whether the initial label remains convincing or was merely a response to expectation.
Keep the stars at similar apparent heights when you can. Light from a low star travels through more atmosphere, which can increase dimming and rapid color changes. If one is much lower, record that difference and avoid treating the comparison as controlled.
Use contrast without contaminating it
Color can appear stronger when two targets are compared in close succession. It can also be distorted by a phone screen, white flashlight, colored porch lamp, or the afterimage from a bright object. Dim or cover nearby lights and allow your eyes a few minutes to settle. You do not need complete dark adaptation to see bright stars, but you do need consistent conditions.
Do not stare continuously until a color appears. Blink, rest, and repeat several short looks. If your eyes become tired or dry, stop. Observers differ in color sensitivity, and eyesight conditions can matter; the exercise is not a medical test.
Binoculars may make a star brighter and easier to hold in context, but they also introduce optical coatings, focus, and motion as variables. If you use them, compare both stars with the same instrument and settings. Never begin a sweep while the Sun is above or near the local horizon.
Keep an uncertainty ledger
Divide a notebook page into evidence that supports the color impression and evidence that weakens it. The supporting side might say “warm on three separate looks” or “cooler than the comparison star in A–B–A repeats.” The weakening side might say “low above roofs,” “thin haze,” “rapid twinkling,” or “color vanished when viewed higher later.”
Assign a modest confidence level:
- Clear relative difference: the two stars repeatedly looked different under comparable conditions.
- Weak relative difference: one seemed warmer or cooler, but the effect was small.
- Unstable impression: the label changed with each glance or atmospheric flicker.
- No difference noticed: both looked white or colorless to you.
“No difference noticed” is a valid observation. It does not contradict stellar physics. Your eye, the sky, and the target brightness set a threshold that a photograph does not share.
Separate four possible causes
First consider identification. Confirm the surrounding star pattern and the chart orientation. A bright planet can be mistaken for a star, and choosing the wrong point invalidates the comparison before color enters the discussion.
Second consider the atmosphere. A star low on the horizon may twinkle strongly and flash changing colors. Repeat when it is higher if the seasonal path allows. If the apparent color steadies, the atmosphere likely contributed to the earlier display.
Third consider relative brightness. A very bright point can look whiter because it stimulates vision differently from a dimmer comparison. This does not erase the star’s physical spectrum; it limits a casual visual comparison. Prefer two conspicuous stars rather than pairing an extremely bright one with a barely visible one.
Fourth consider expectation. Reading “red supergiant” immediately before looking can prime a result. That is why the first neutral note comes before the detailed reference check. Afterward, use NASA or another authoritative source to interpret the physical relationship, not to overwrite what you actually recorded.
Repeat under one changed condition
On a second night, use the same pair but change one relevant condition. Observe later when both stars are higher, move away from a direct porch light, or compare unaided eyes with securely held binoculars. Keep date, time, place, cloud, instrument, and approximate star height in the note.
You can also invite another observer to write labels independently before discussing them. Agreement can be interesting, but it still is not a calibrated measurement. Different results may reflect eyesight, vocabulary, or observing conditions rather than carelessness.
If you want a small quantitative habit, count how many of five short A–B comparisons produced the same relative label. Do not convert that count into a surface temperature. The scientific claim comes from spectroscopy and established astronomy, not from your five glances.
Interpret the result at the right scale
After the observations, read the source explanation of stellar color and temperature. Use it to understand why a stable warm-versus-cool difference can be physically meaningful. Keep the language relative: “Star A appeared warmer than Star B under these conditions.” Avoid “I measured Star A as orange” or a precise temperature inferred from eyesight.
Photographs are excellent for showing color across a field, but exposure, white balance, saturation, and processing must be disclosed. If you later add a camera image, label it by method and do not present its vividness as the unaided view.
This exercise works because it protects a small observation from a large conclusion. Choose a pair available now, record the first impression before reading the expected answer, compare in repeated short looks, and preserve uncertainty. The result may be a clear warm-cool contrast, a weak hint, or two white points. Each outcome is an honest description of what the night allowed you to see.
Continue observing
- Find the Summer Triangle Without Needing Dark-Sky Travel
- Find Cassiopeia’s W and Use It as a Seasonal Landmark